
Gluten-Free Bread Kits
You Found My Amazing
Gluten-Free Bread Kits
Hi! I'm Amy Civica The Kitchen Fairy. I'll thrilled to be part of your bread-baking journey. With this kit, you're just a few easy steps away from fresh, homemade, gluten-free bread that tastes as good as it looks. Let's face it - baking is a science experiment disguised as food prep, and some of us would rather skip the lab coat. That's why I've done all the heavy lifting with this simplified bread recipe. You get the joy of fresh bread without needing a PhD in gluten-free chemistry. Whether you're a baking pro or avoiding the kitchen whenever possible, this recipe has you covered - simple, quick and delicious.
HINT: Read the instructions first. Then watch this video for extra pointers.
Let's dive in! Scroll to the instructions, and don't forget to check out the video for a step-by-step guide.
What You'll Need
Ingredients & Tools
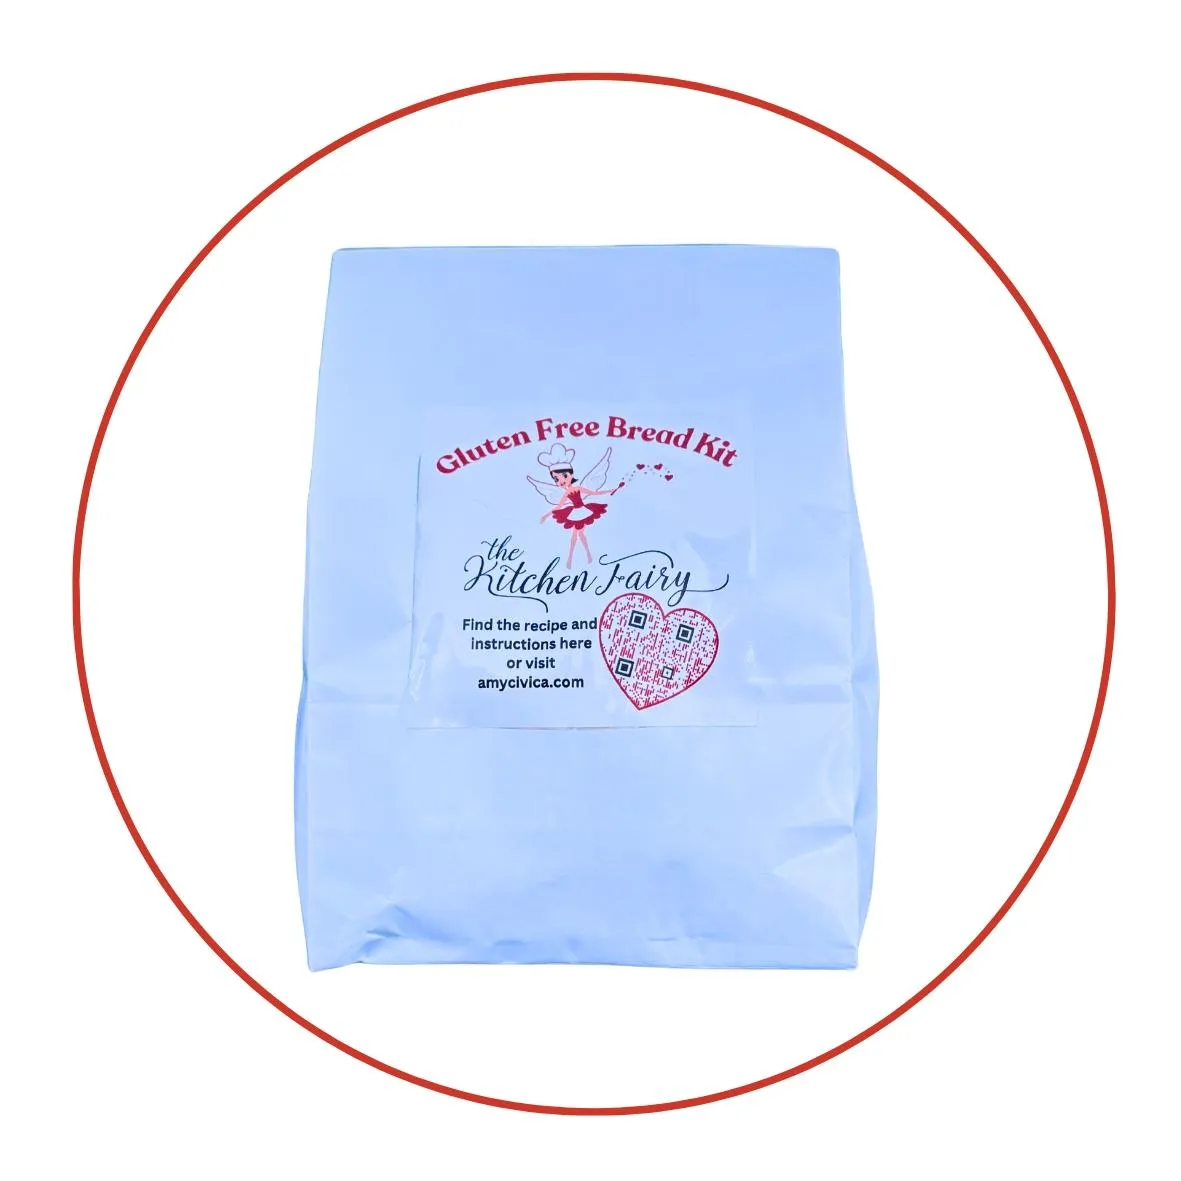
GF Bread Kit
Your Kitchen Fairy's Secret Weapon!
See Ingredient List Here
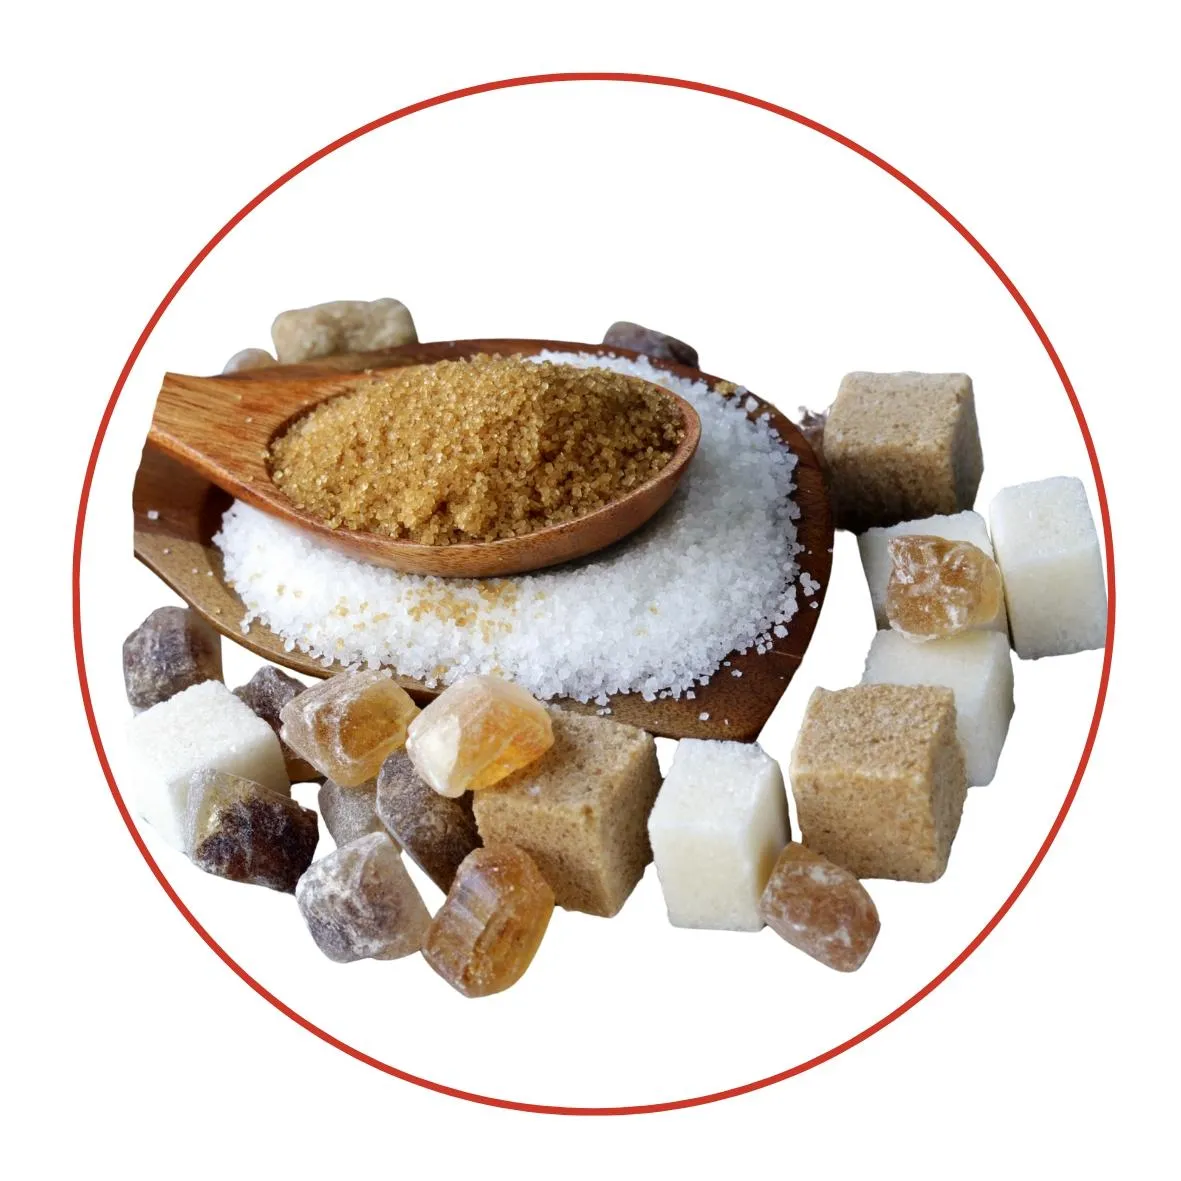
Sugar
1 Tbsp sugar
(See Video Explanation)

Water
2-1/4 Cups
Room Temperature

Olive Oil
1.5 Tbsp
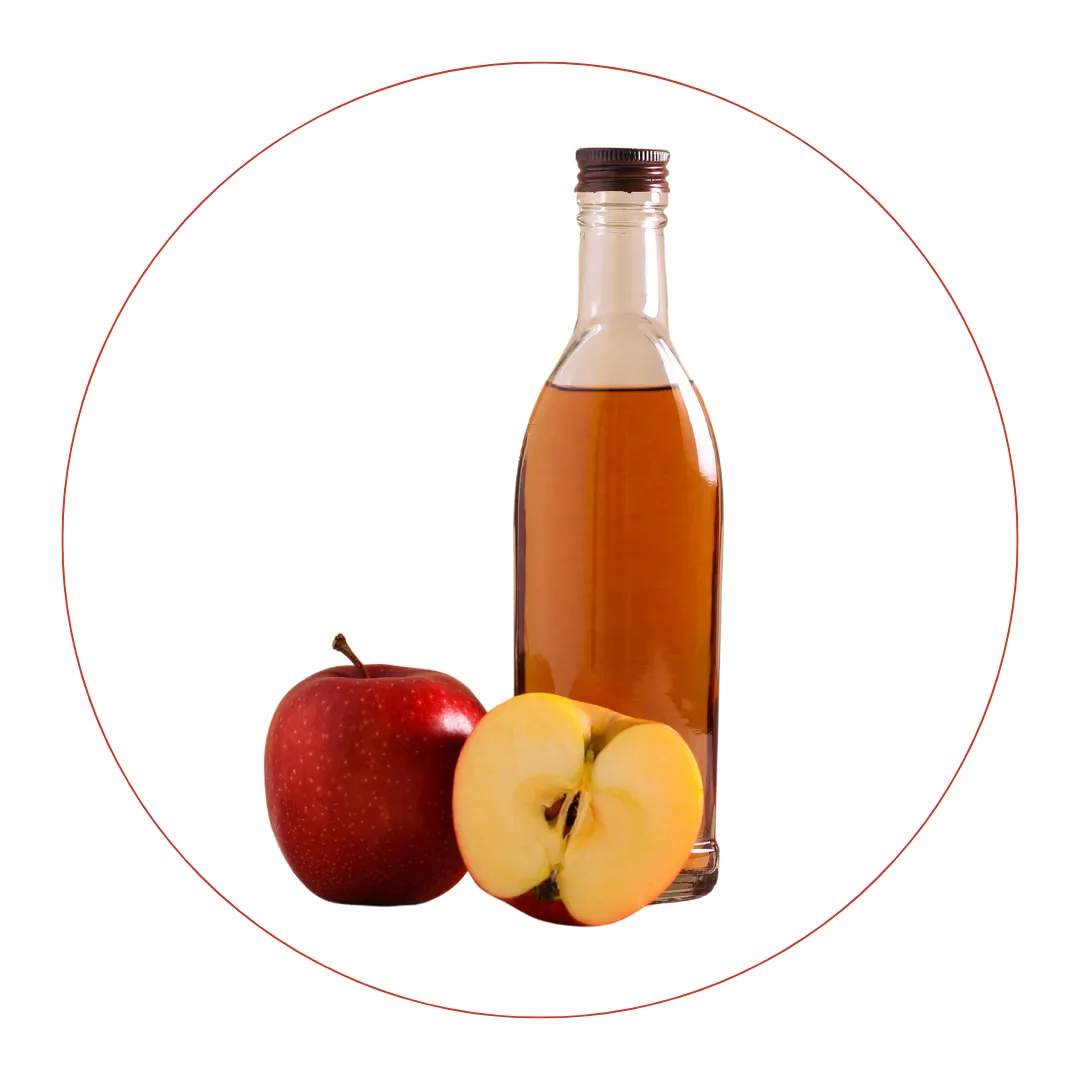
Apple Cider Vinegar
1 Tbsp
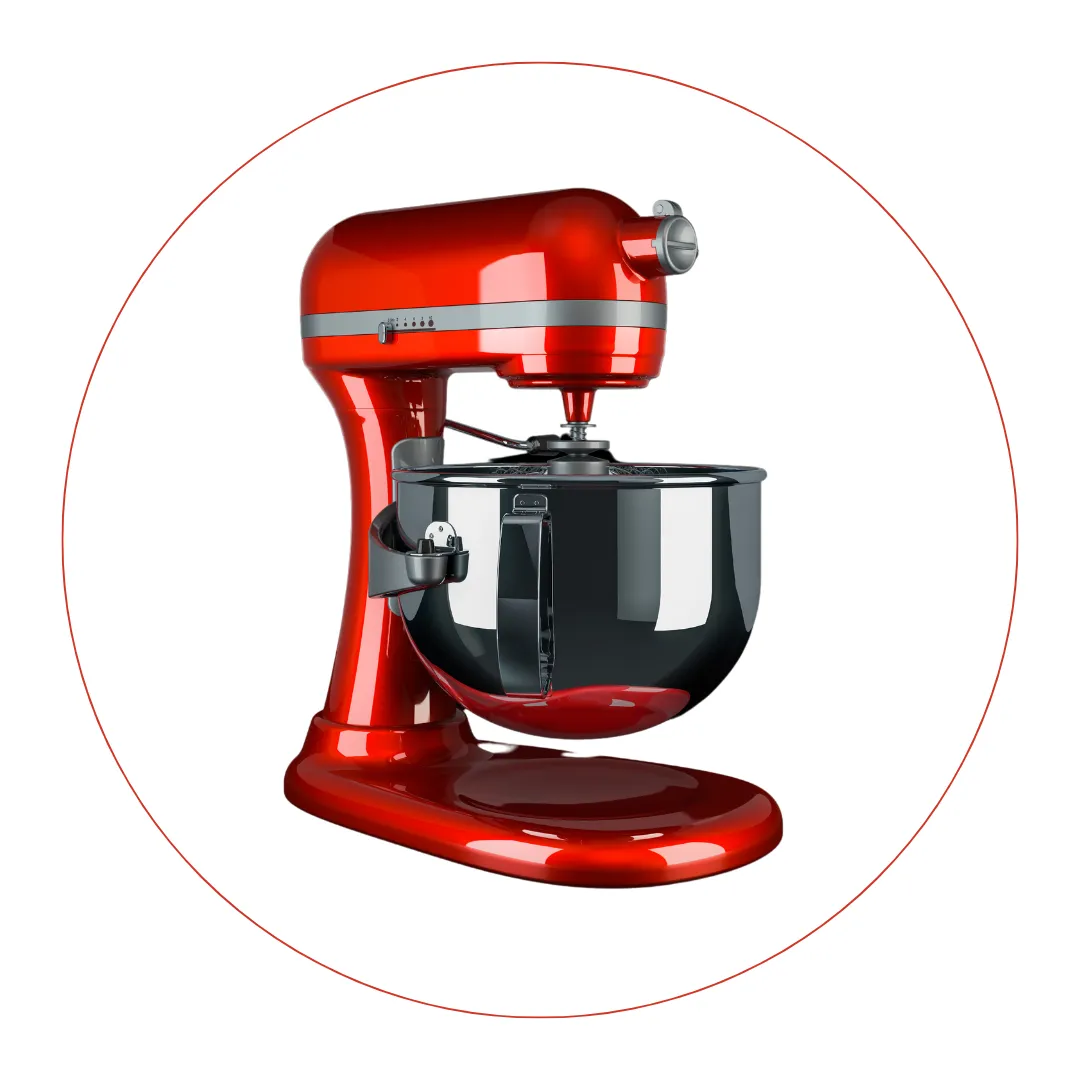
Equipment
1 Medium Bowl
1 Mixer with Dough Hook
(our just your hands, if you want a workout)
1 Loaf Pan
Instructions
Instructional Video Below

More Fun Ideas
Let's Get Creative!
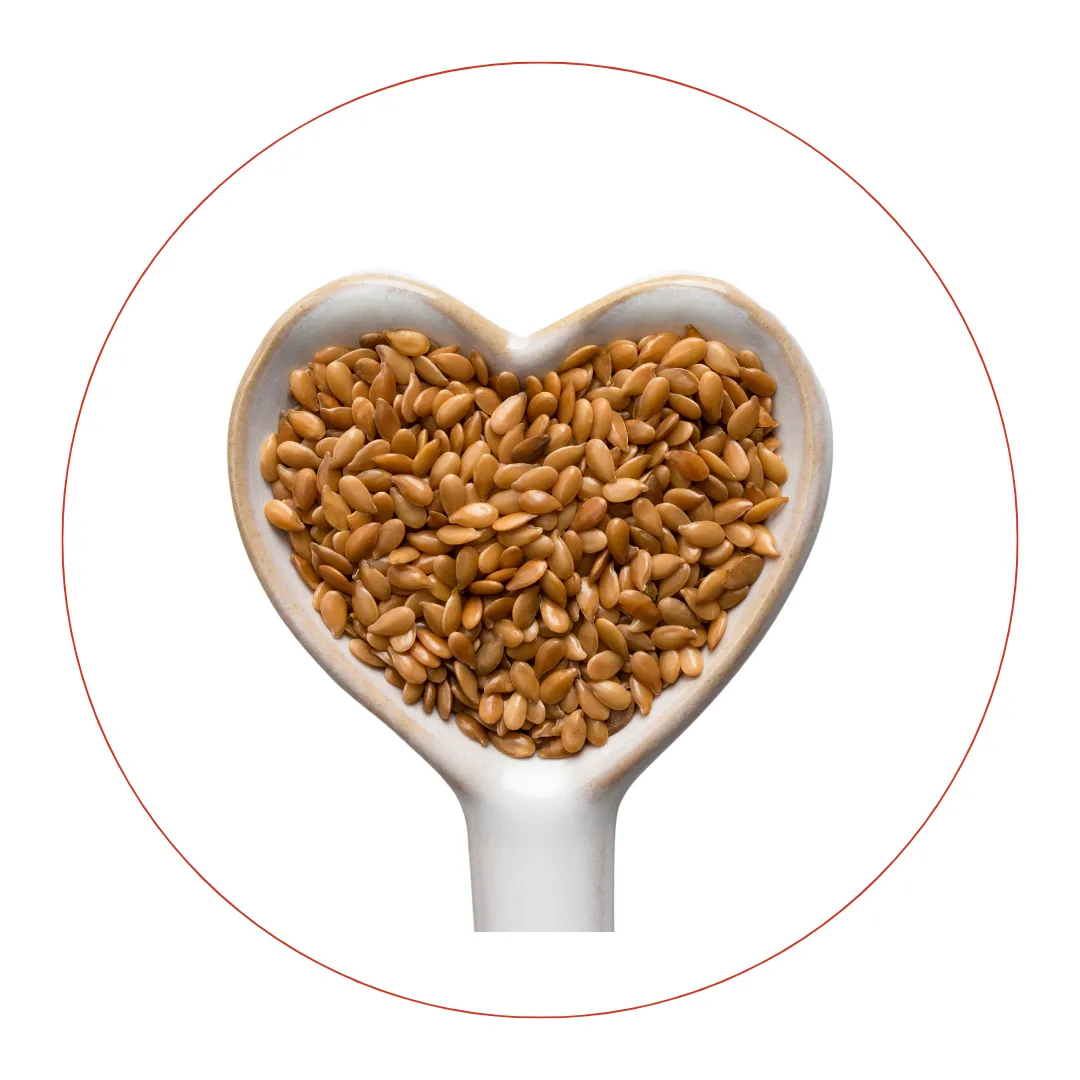
Seeded Bread
Add a nutty, crunchy twist by mixing in 150 grams of your favorite seeds (sunflower, sesame, chia, flax, pepitas, walnuts, hemp hearts or a mix) after the wet and dry ingredients are fully combined. The result? A hearty, satisfying loaf that’s perfect for snacking or topping with butter!
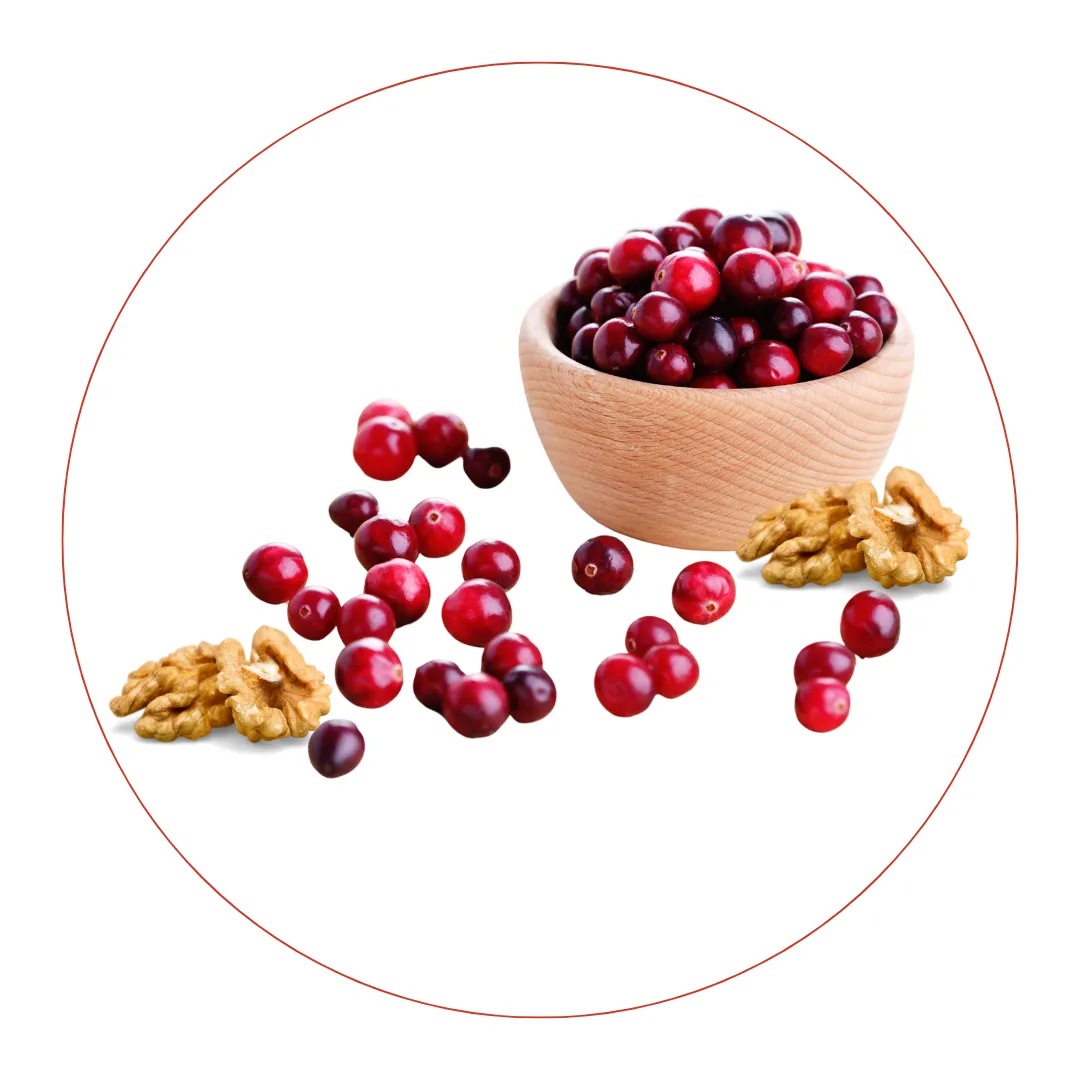
Cranberry Walnut Bread
For a sweet and savory treat, stir 1 tsp of cinnamon into the dry ingredients, then fold in ½ cup walnuts and ½ cup dried cranberries once the wet and dry ingredients are fully incorporated. This combo gives you a perfect balance of warm spice, nutty crunch, and sweet tartness.
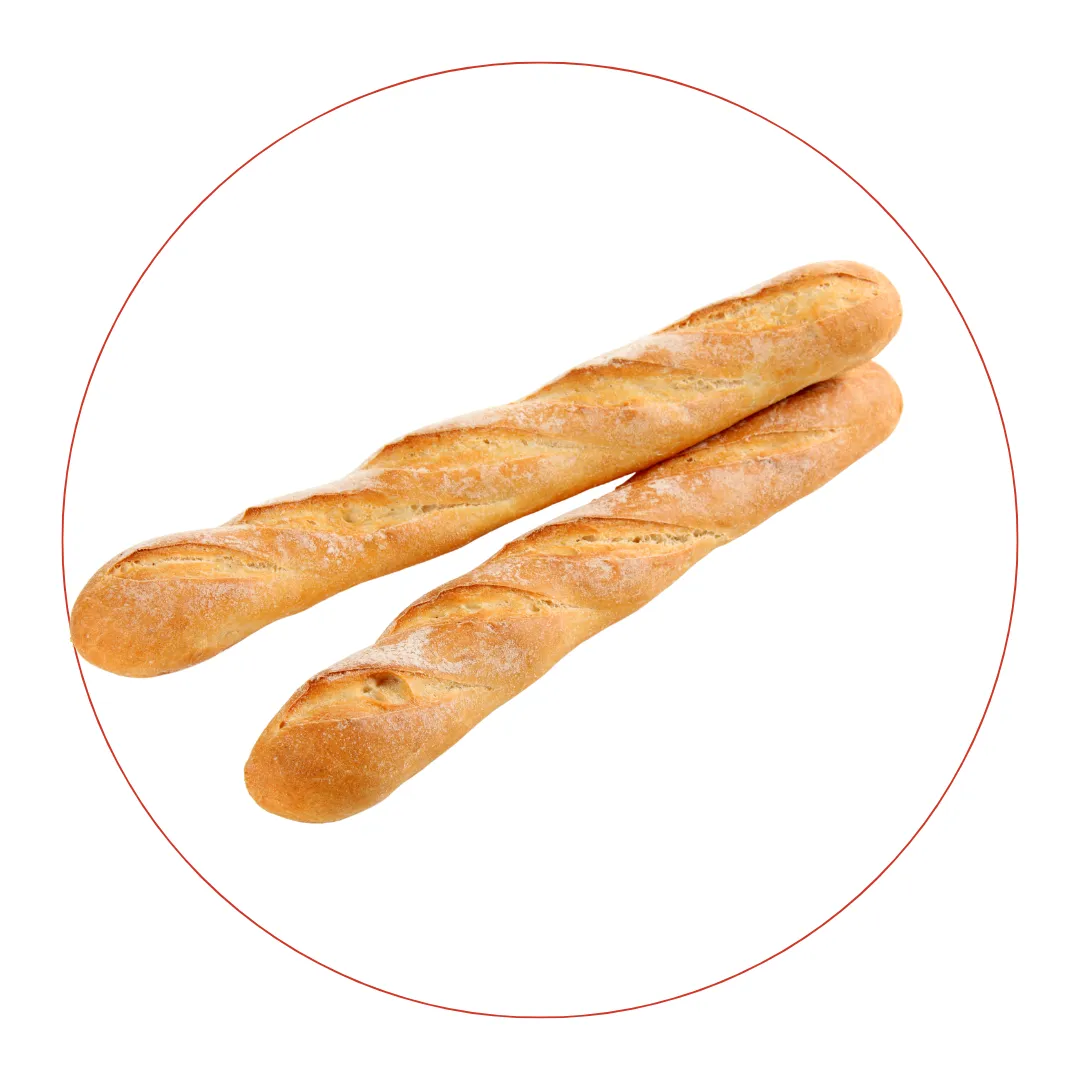
Baguettes
Craving something a little fancier? Split your dough into two equal parts, shape them into elongated loaves, and bake like a pro! A baguette pan works wonders here, but if you’re flying without one, you can use rolled-up towels to support the loaves on a baking sheet for rising. Remove the towels and bake for 10 minutes less during the second leg.
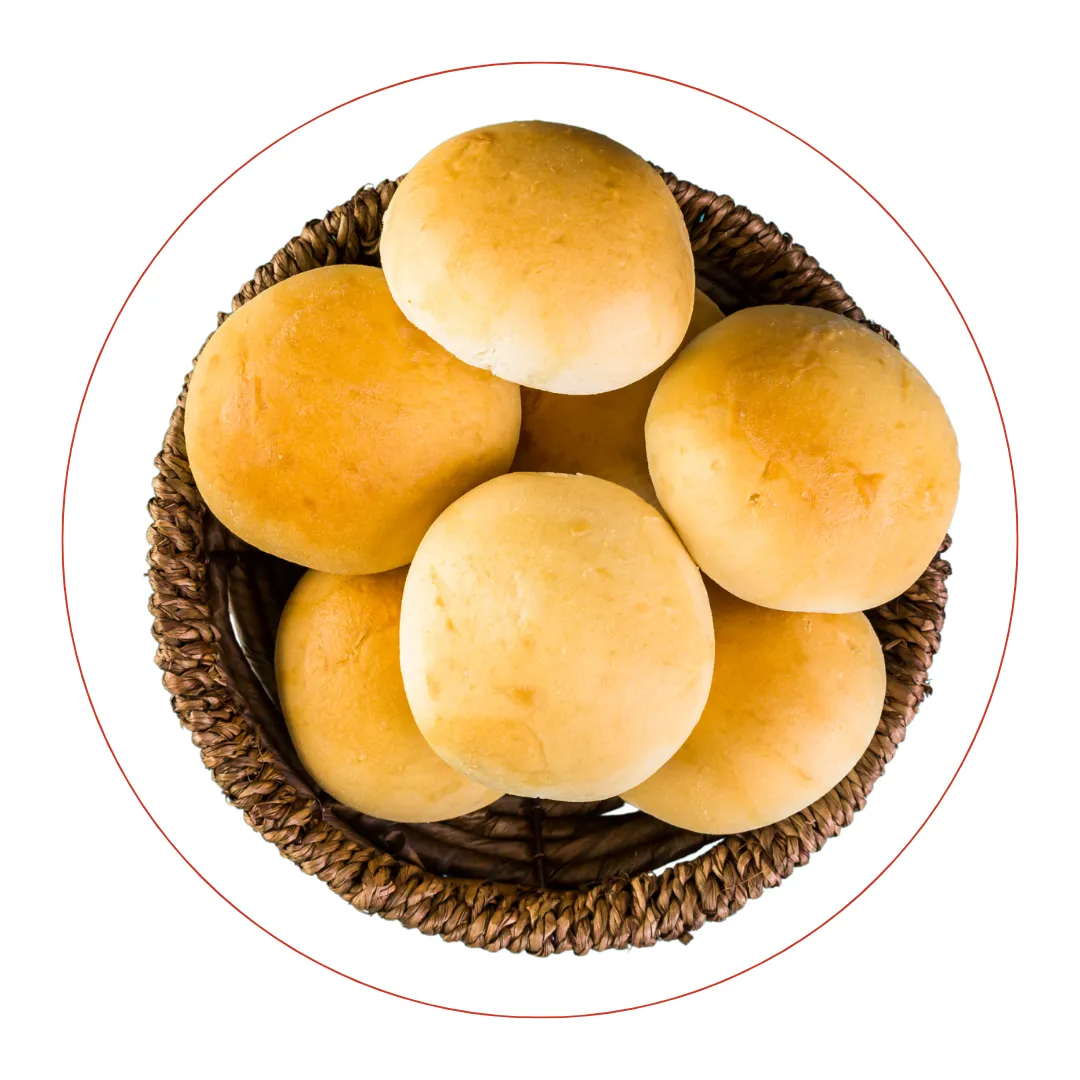
Dinner Rolls
Want a crowd-pleasing side for your next meal? Divide the dough into 6-8 equal balls, shape them into rolls, and bake them to golden perfection. These fluffy, melt-in-your-mouth rolls will be the star of any dinner table!
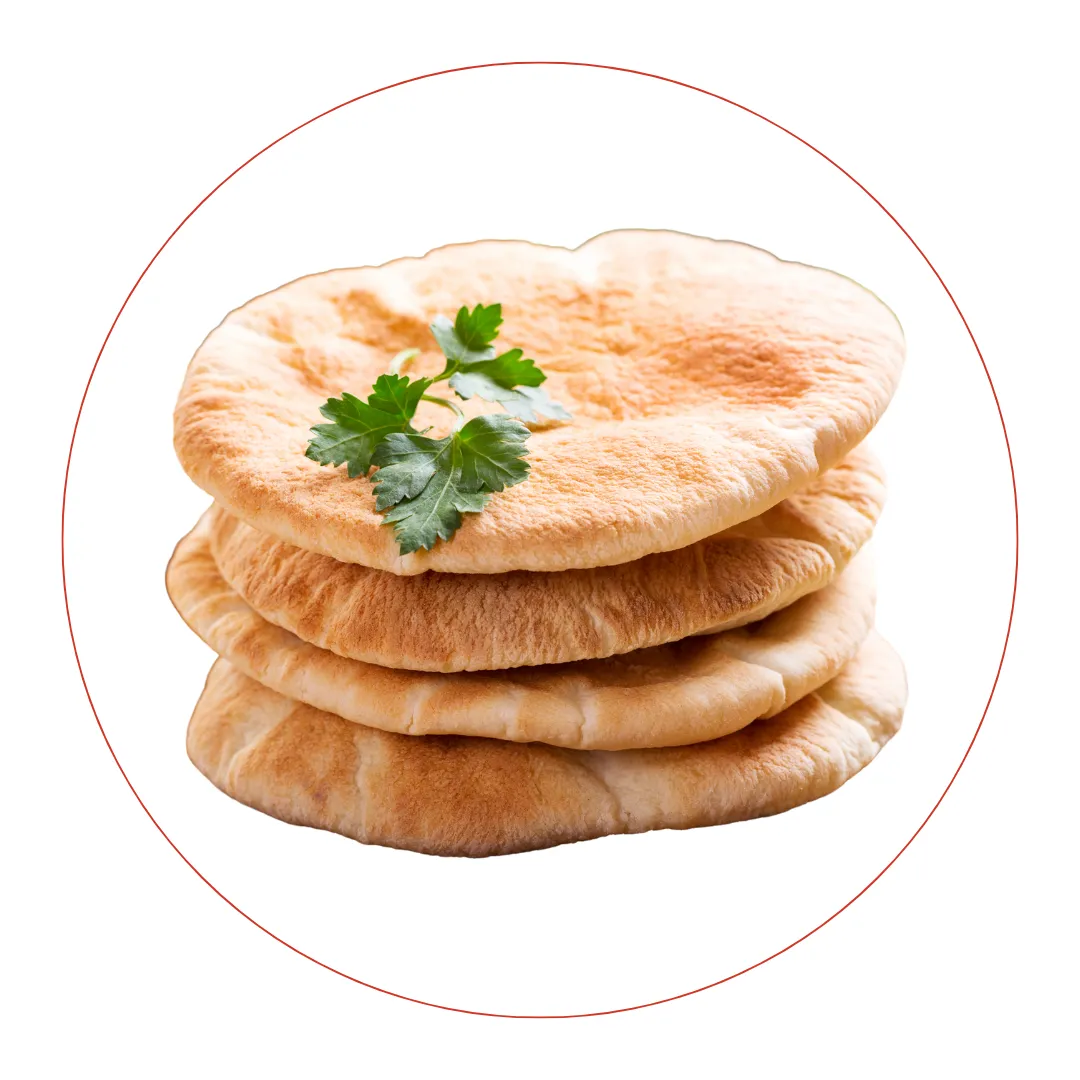
Pita Breads
Pita lovers, rejoice! For the perfect puff, divide the dough into small portions and roll them into discs. For best results, use a baking stone or steel to achieve that authentic airy texture and irresistible pocket in the middle. Ready for hummus or whatever your heart desires!
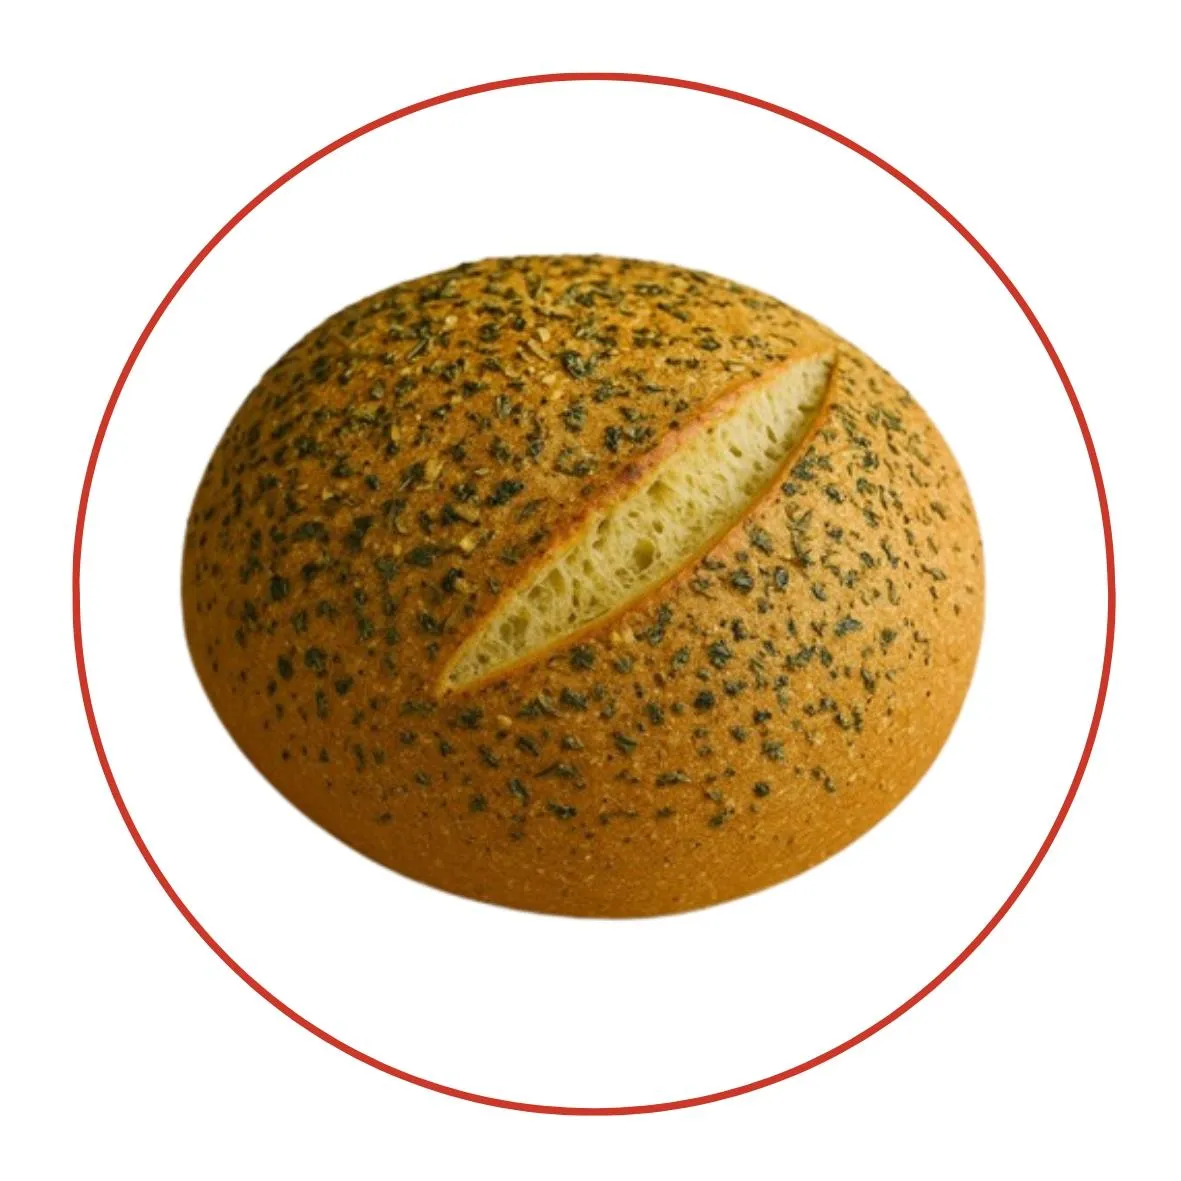
Garlic Herb Loaf
Turn your kit into a savory garlic herb loaf! Mix in 4 crushed garlic cloves (raw or sautéed) and 4 tbsp of your favorite herb blend—garlic herb, Italian, or za’atar all work great. Shape the dough, let it rise until doubled, then brush with oil and score the top. Preheat a lidded cast iron pot to 425°F, drop the loaf in on parchment, cover and bake for 15 minutes. Uncover and bake 30 more. Golden, fragrant, and totally delicious!
Storing & Enjoying Your Bread
Enjoy the fresh loaf for 1–2 days. For longer freshness, store in the fridge for up to a week. It’s amazing toasted and topped with all your favorites. If you still have some left, it freezes well. You can make croutons, bread crumbs and also slices that can be toasted.
Gluten-Free Bread Kit Ingredients
Organic Sorghum Flour, Organic Arrowroot Starch, Organic Millet Flour, Organic Psyllium Husk Powder, REAL Salt, Instant Dry Yeast
Looking For More Ideas?
Looking to spice up your kitchen routine? Visit our Meal Prep Magic Series for a treasure trove of cooking ideas, clever hacks, and endless inspiration. Whether you're a seasoned chef or just starting your culinary journey, our series offers simple solutions and creative recipes to make mealtime easier, healthier, and more delicious. From time-saving tips to mouthwatering dishes, we’ve got everything you need to elevate your cooking game. Stop by and get inspired today!
Want Amy in Your Kitchen?
Happy Baking! Don't forget to post a picture and tag me!
amycivica.com Copyright @ 2026. All rights reserved